
Google Chromecast リモコンが機能しない? 試すべき 7 つの修正
公開: 2023-07-29Chromecast with Google TV がリモコンに応答しませんか? 一部のリモート ボタンは機能しますが、他のボタンは機能しませんか? Chromecast 音声リモコンのトラブルシューティングを行い、再び動作させるためのいくつかの方法を紹介します。
1. 携帯電話を仮想リモートとして使用する
Google Home アプリには仮想 Chromecast リモコンが組み込まれています。 物理リモコンが機能しない場合は、Google Home アプリを使用して Chromecast を操作します。
スマートフォンを Chromecast と同じ Wi-Fi ネットワークに接続し、以下の手順に従います。
- Android または iOS スマートフォンに Google Home をインストールし、Chromecast にリンクされている Google アカウントにサインインします。
- Chromecast が携帯電話と同じ Wi-Fi ネットワーク上にある場合、アプリは Chromecast を自動的に検出します。 [デバイス]タブに移動し、Chromecast を選択します。
Google Home アプリが Chromecast を自動的に検出しない場合は、 [追加]ボタンをタップして Chromecast を手動でリンクします。
- [リモート] (iOS) または[リモートを開く] (Android) をタップして、Chromecast 仮想リモコンを起動します。
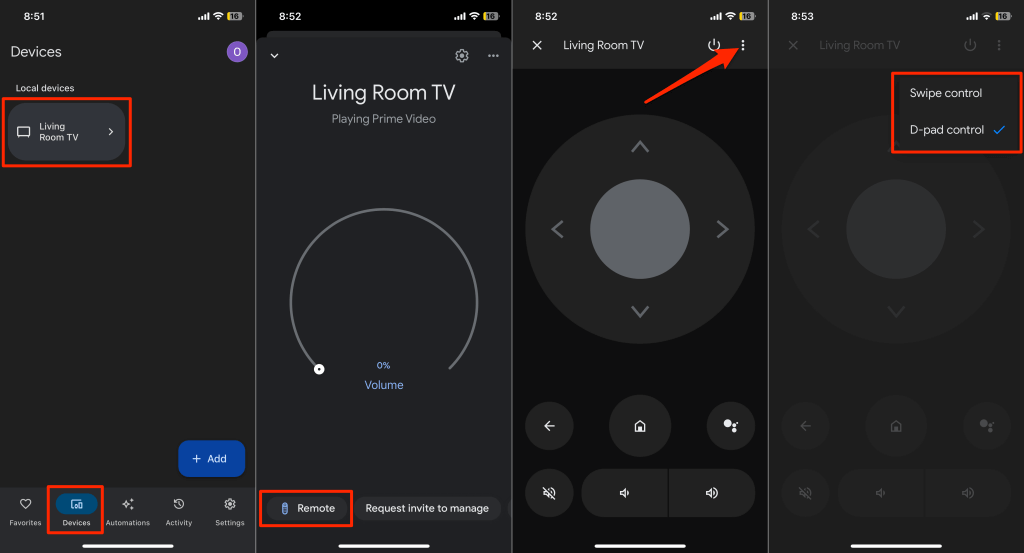
Google Home アプリは、携帯電話の画面に仮想リモコンを表示します。
スワイプまたは方向パッドのナビゲーション コントロールを使用するように仮想リモコンをカスタマイズできます。 右上隅にある3 つの点のメニュー アイコンをタップし、スワイプ コントロールまたはD-パッド コントロールを選択します。
2. バッテリーの状態を確認するか、バッテリーを交換します
Chromecast リモコンの電池が切れているか、正しく挿入されていない場合、Chromecast リモコンは機能しません。 設定メニューで音声リモコンのバッテリー残量を確認してください。
Google Home アプリで仮想 Chromecast リモコンを開き、以下の手順に従います。
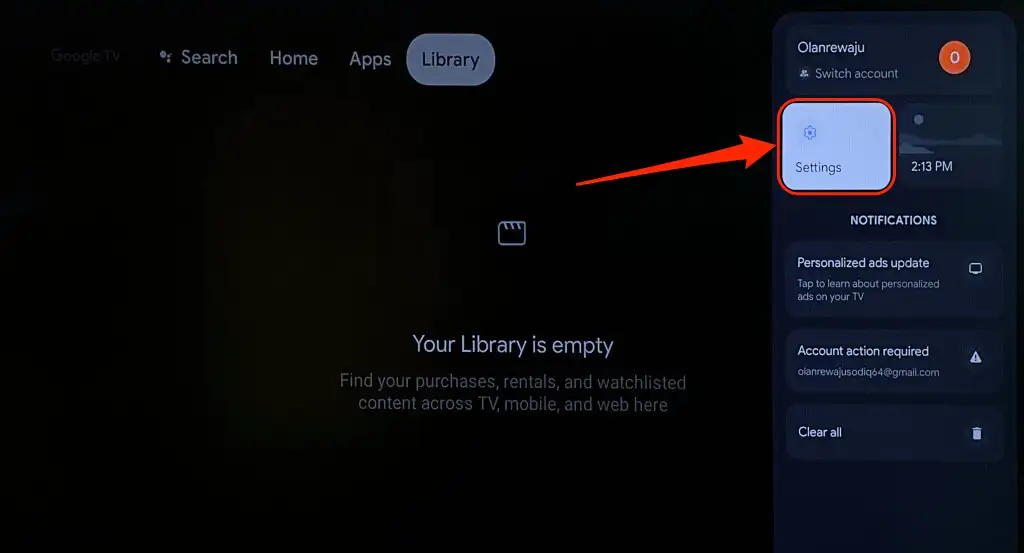
- 右上隅にあるプロフィール写真/アイコンを選択し、 [設定]を選択します。
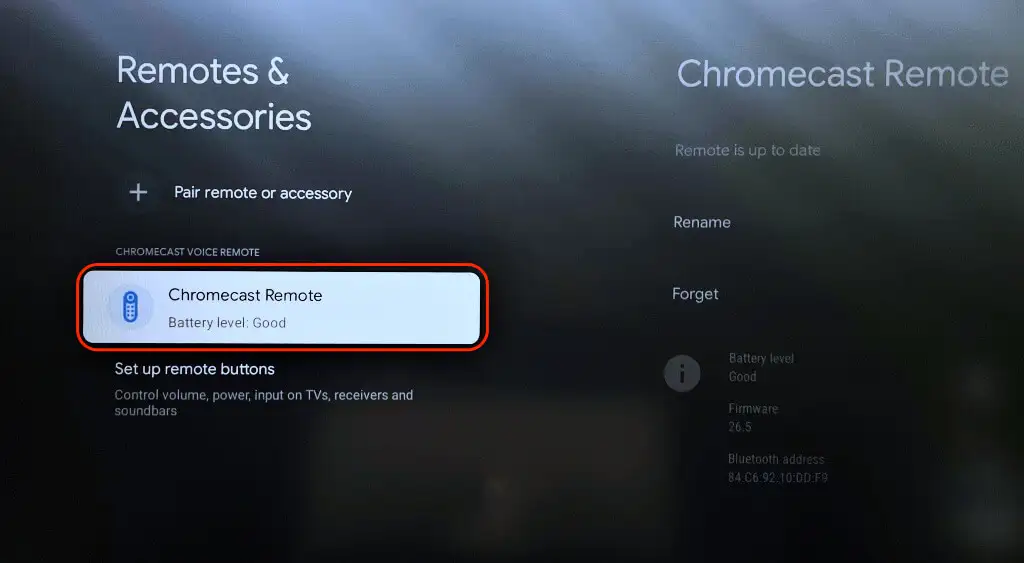
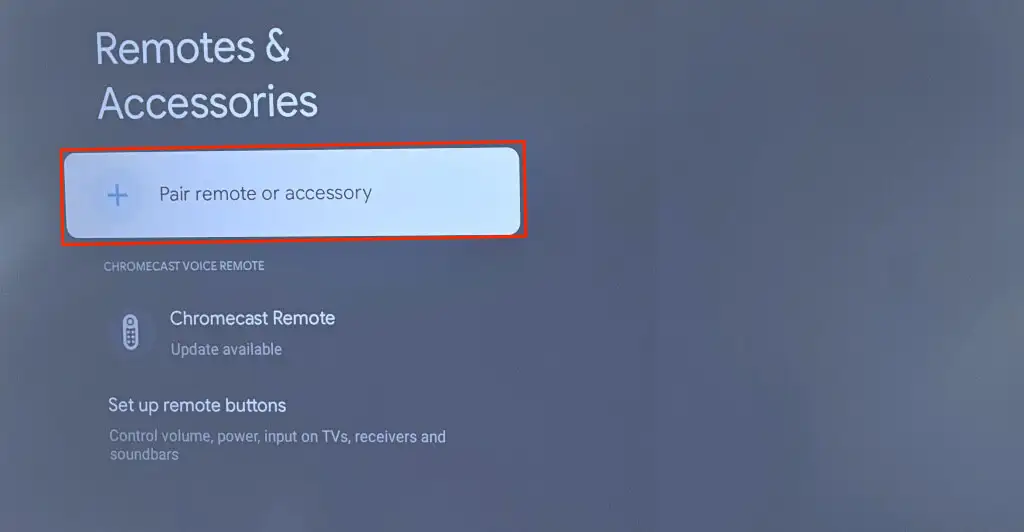
- [リモコンとアクセサリ]を選択します。

- 「Chromecast 音声リモコン」セクションで Chromecast リモコンのバッテリー残量を確認してください。 バッテリーレベル/ステータスが「良好」でない場合は、Chromecast リモートのバッテリーを再挿入または交換します。
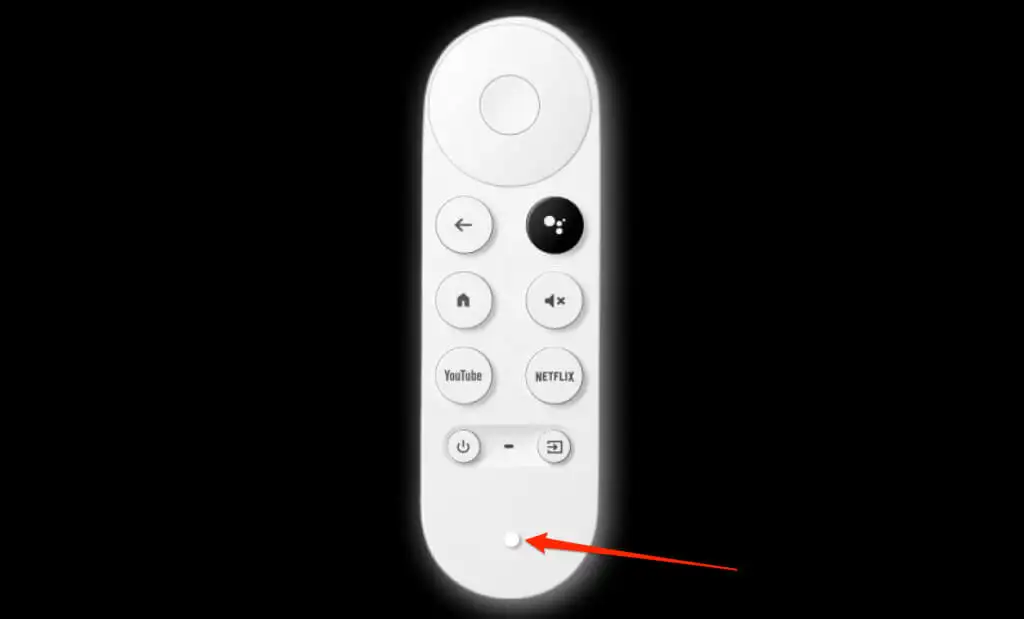
音声リモコンの背面カバーを開け、電池がしっかりと取り付けられていることを確認してください。 電池の極性 (プラス (+) 側とマイナス (-) 側) を電池収納部の刻印に合わせて合わせます。 電池を再度挿入すると、Chromecast 音声リモコンの LED ライトが 2 回点滅します。
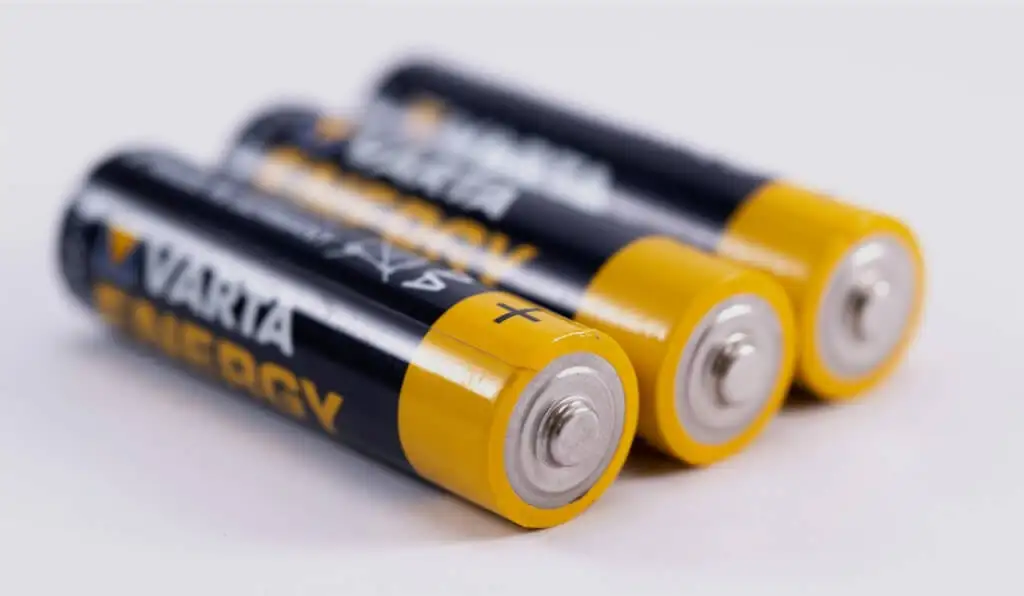
LED ライトが点滅しない場合は、新しい 1.5 ボルトの AAA アルカリ電池 2 個を音声リモコンに挿入してください。 片方のバッテリーではなく両方のバッテリーを交換してください。古いバッテリーと新しいバッテリーを混ぜると問題が解決しない可能性があります。
3. Chromecast リモコンを更新する
Chromecast 音声リモコンは、ファームウェアの更新が必要な場合に誤動作する可能性があります。 Google Home アプリの仮想リモコンを使用して、リモコンに利用可能なアップデートがあるかどうかを確認します。
- 右上隅にあるプロフィール アイコンを選択し、 [設定]を選択します。

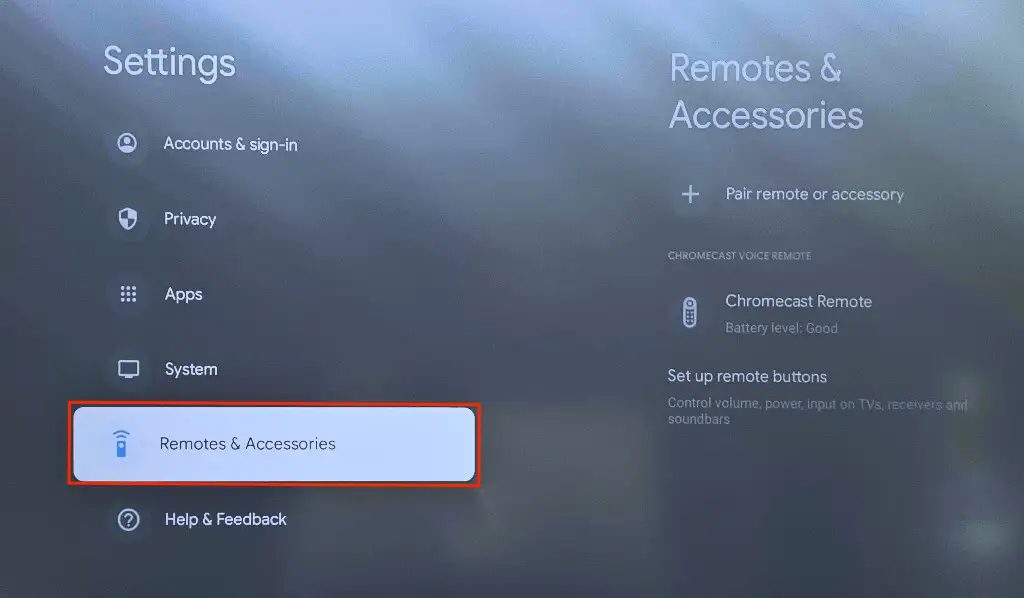
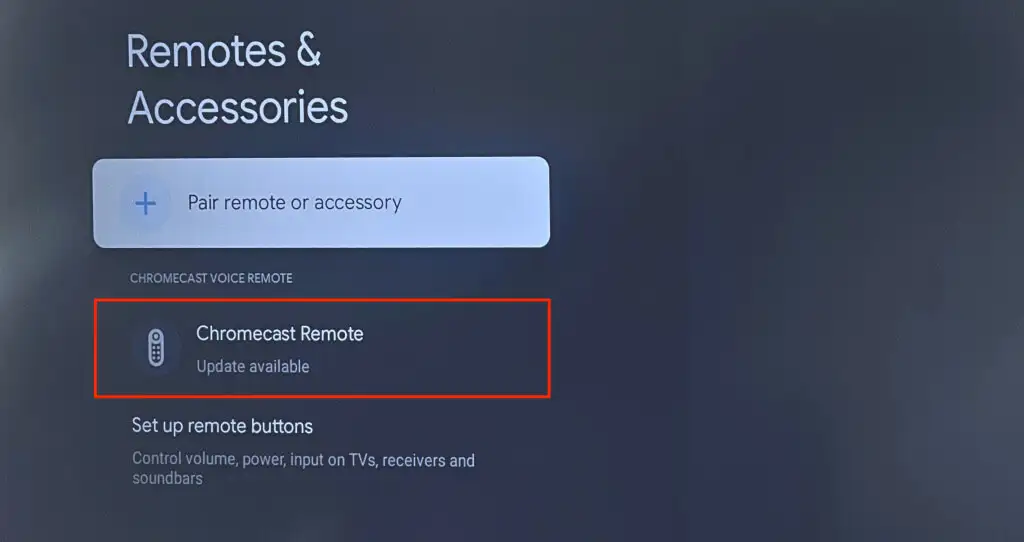
- [リモコンとアクセサリ]を選択します。
- Chromecast リモコンの下に「アップデートが利用可能」というメッセージが表示されている場合は、アップデートをインストールするリモコンを選択します。
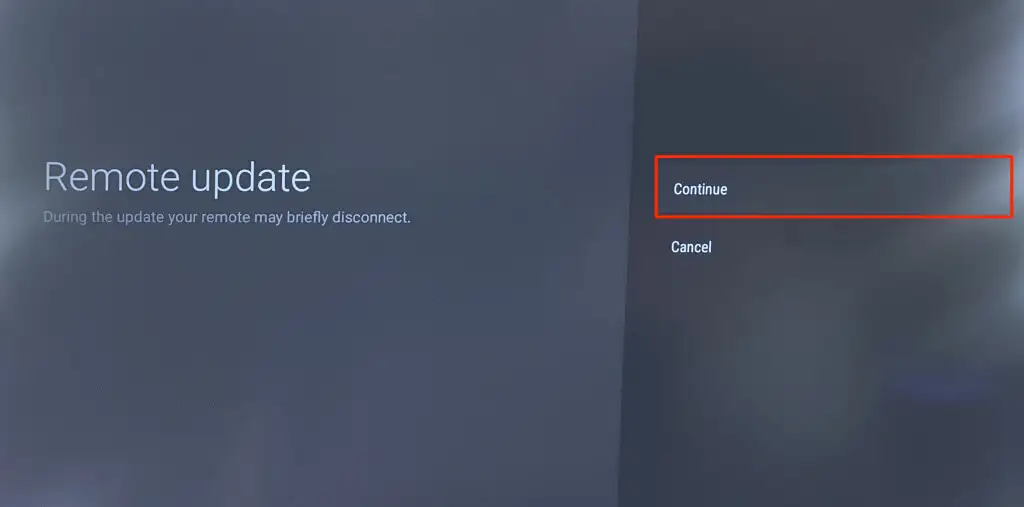
- [リモート更新]を選択して続行します。
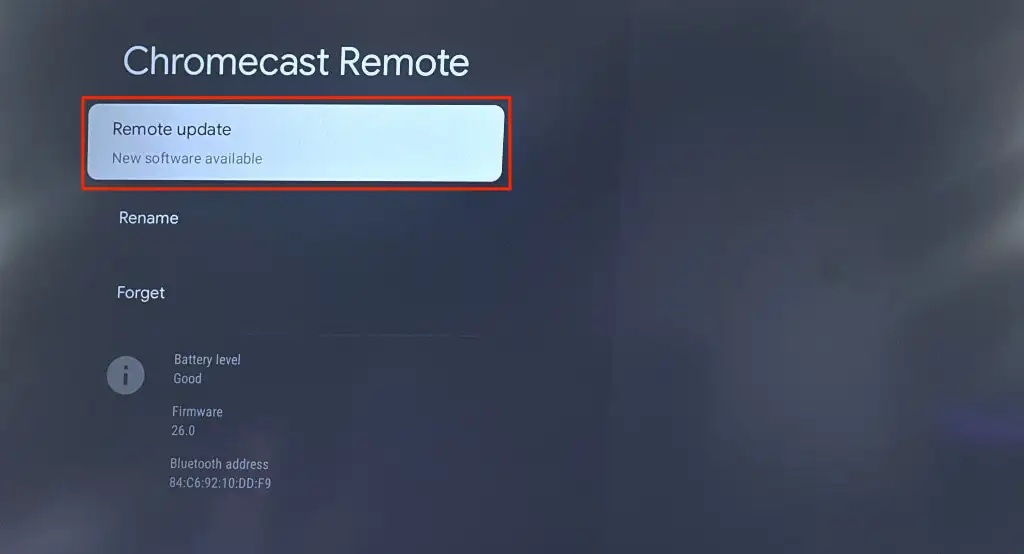
- [続行]を選択して、リモート ソフトウェア アップデートを開始します。
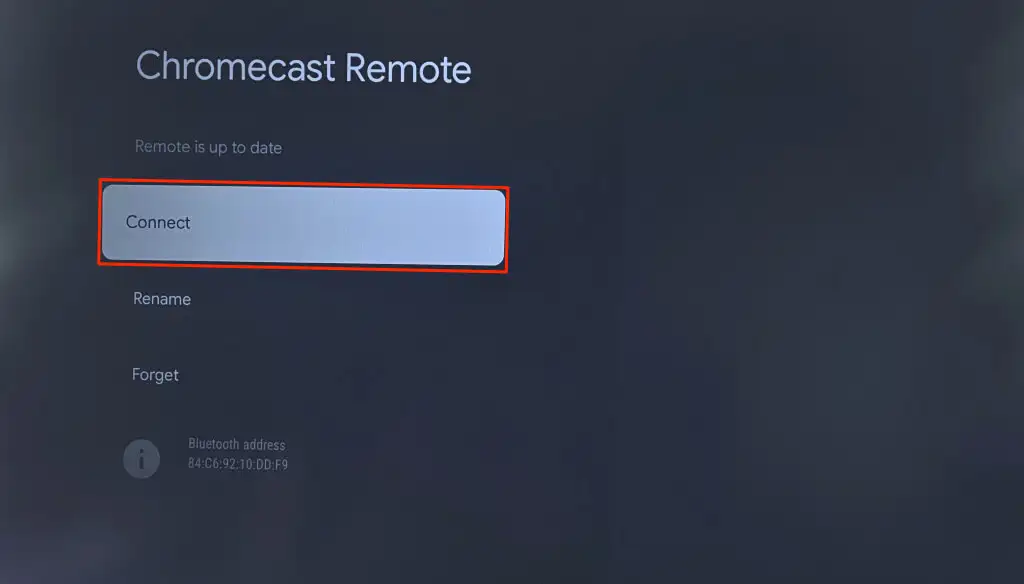
- リモコンを更新すると、Chromecast とのペアリングが解除されます。 更新後に[接続]を選択して、リモコンを再ペアリングします。
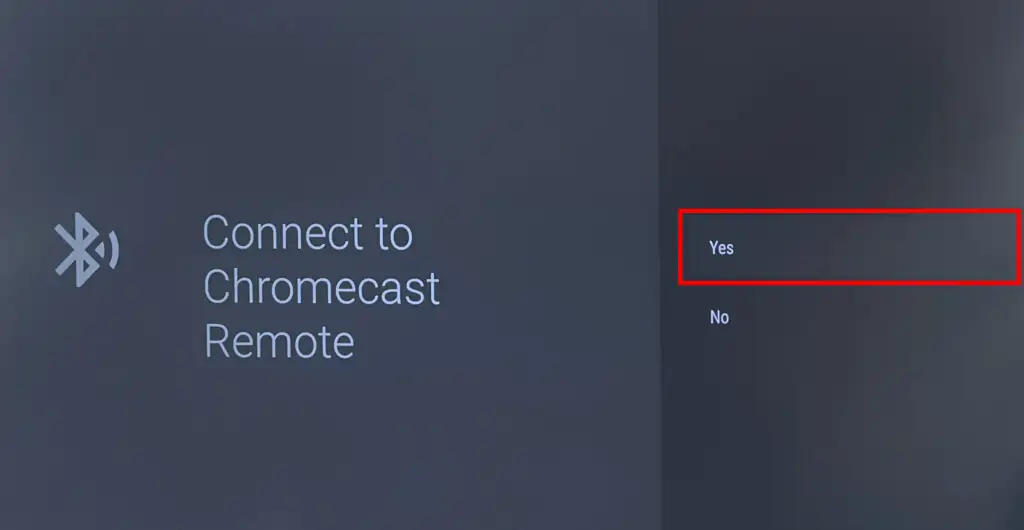
- 続行するには「はい」を選択します。
4. Chromecast リモコンをリセットまたは再ペアリングする
Chromecast のリモコンをリセットすると、再び正常に動作するようになります。 Chromecast 音声リモコンを工場出荷時のデフォルトにリセットするには、次の手順に従ってください。
- リモコンの裏蓋を開け、両方の電池を取り外し、5 分間待ちます。
- リモコンのホームボタンを押し続けます。
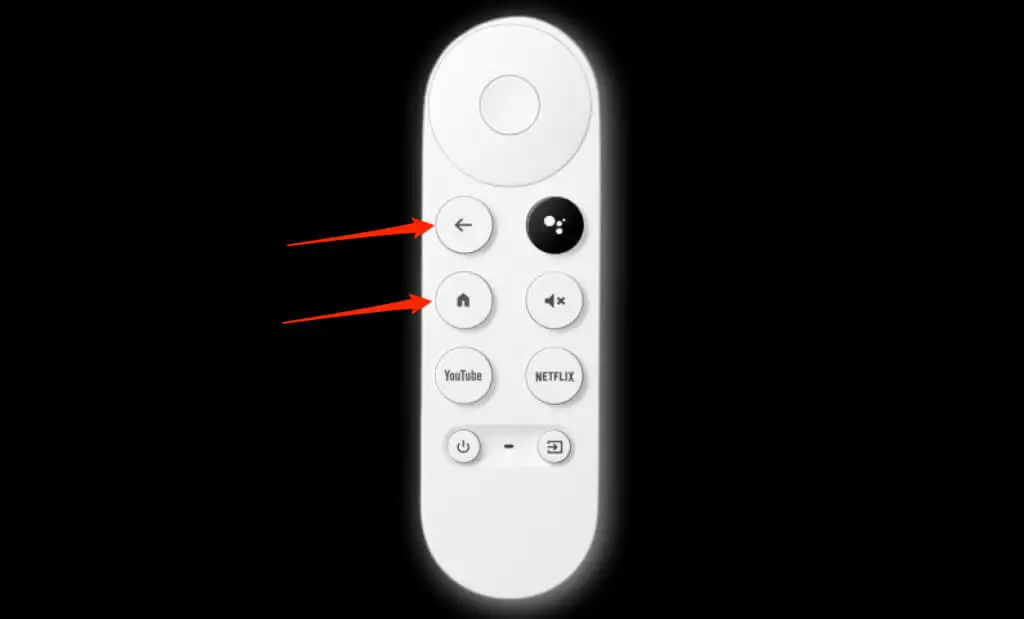
- ホームボタンを押したまま、リモコンに両方の電池を再度挿入します。 リモコンの LED ライトが点灯し、点灯したままになります。
- LED ライトが点滅/点滅し始めたら、ホーム ボタンを放します。
リセット後、Remorse は Chromecast と自動的にペアリングされます。 そうでない場合、または LED ライトが点滅し続ける場合は、Google Home アプリの仮想リモコンを使用してリモコンを手動でペアリングします。

- [設定] > [リモコンとアクセサリ] > [リモコンまたはアクセサリをペアリング]に移動します。
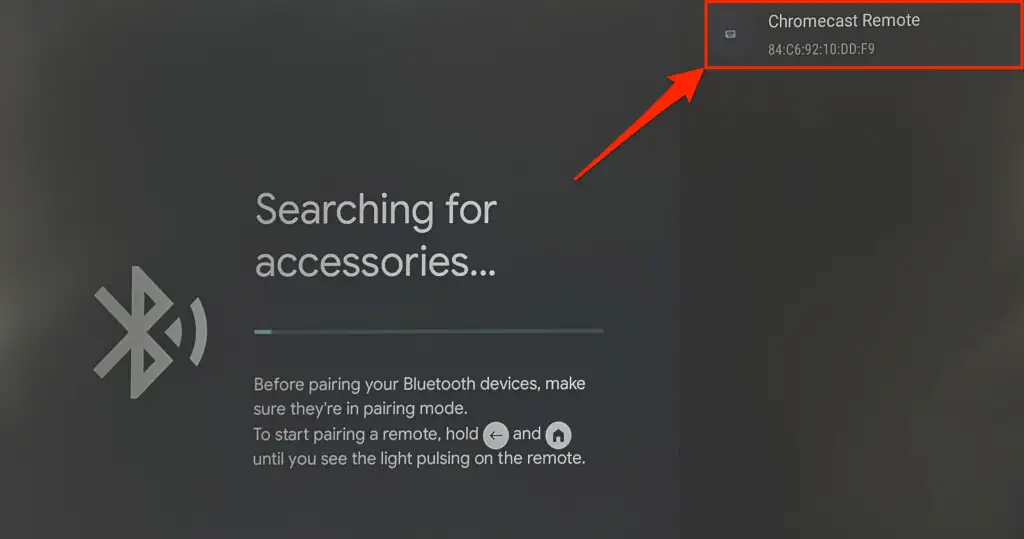
- Chromecast 音声リモコンのホームボタンと戻るボタンを押し続けます。 これにより、リモコンがペアリング モードになり、検出可能になります。

- テレビ画面にリモコンが表示されたら、それを選択します。
5. Chromecast を再起動します
システムを再起動すると、Chromecast と Chromecast 音声リモコンの不具合を修正できる場合があります。 Chromecast を再起動するには、Google TV の設定から、またはストリーミング デバイスを電源に再接続します。
設定メニューからChromecastを再起動します
- 画面の右上隅にあるプロフィール写真/アイコンを選択し、 [設定]を選択します。

- サイドバーで「システム」を選択し、 「再起動」を選択します。

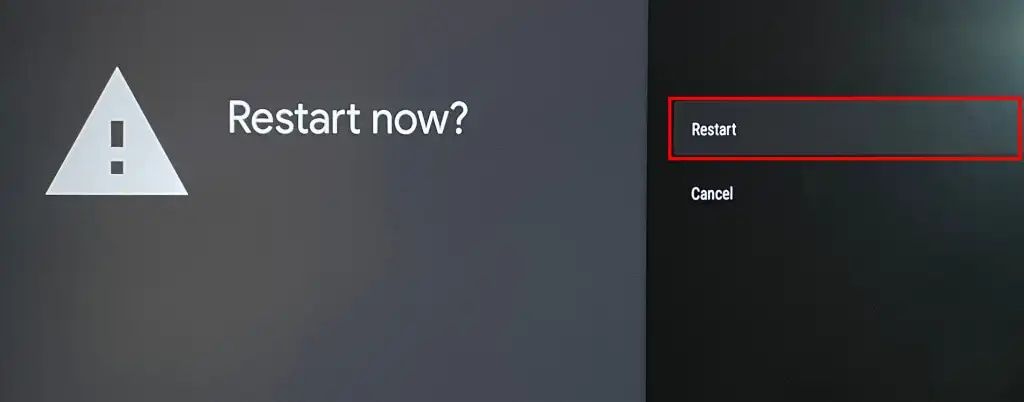
- 確認ポップアップで[再起動]を選択して、Chromecast デバイスを再起動します。
ハードリブートを実行する
Chromecast を電源から抜き、1 ~ 2 分待ってから電源ケーブルを再接続します。
再起動後もリモコンが正常に動作しない場合は、Chromecast のソフトウェアを更新してください。
6. Chromecast を更新する
Google では、最新の機能を利用したり、システムの不具合をトラブルシューティングしたりするために、Chromecast にアップデートをインストールすることを推奨しています。
Google Home アプリの仮想リモコンを使用して、Chromecast ソフトウェアを最新バージョンに更新します。
- Chromecast ホーム画面でプロフィール アイコンを選択し、 [設定]を選択します。
- サイドバーで「システム」を選択します。
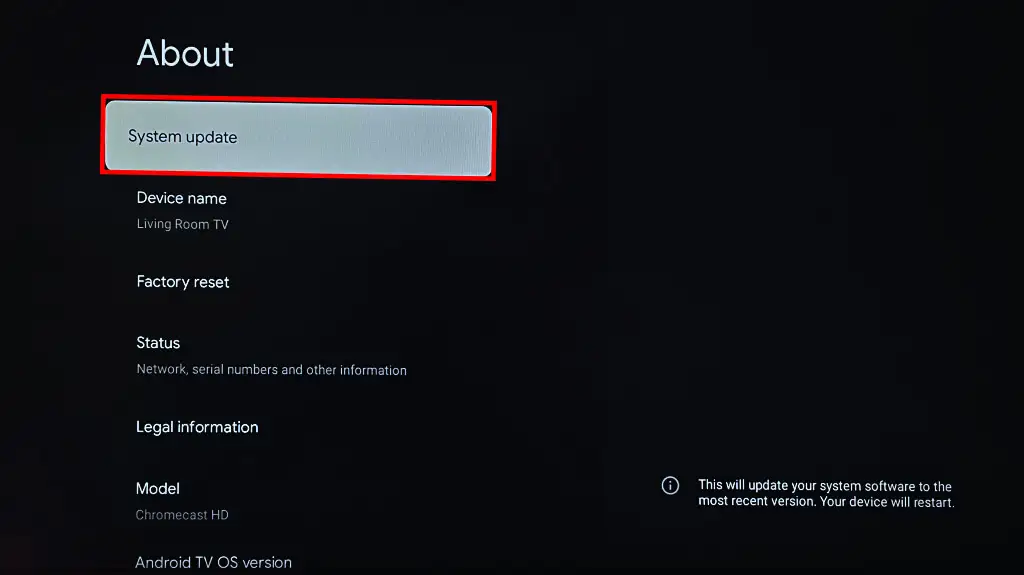
- 次に、 [バージョン情報]を選択します。
- [システム アップデート]を選択し、Chromecast が利用可能なアップデートをスキャンするまで待ちます。
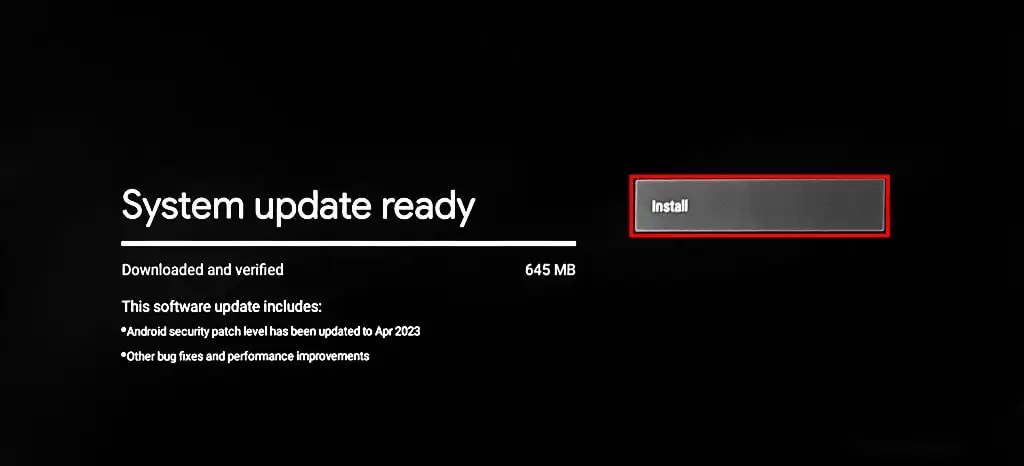
- デバイスにアップデートがある場合は、「システムアップデートの準備ができました」というメッセージが表示されます。 「インストール」を選択してソフトウェア更新プロセスを開始します。
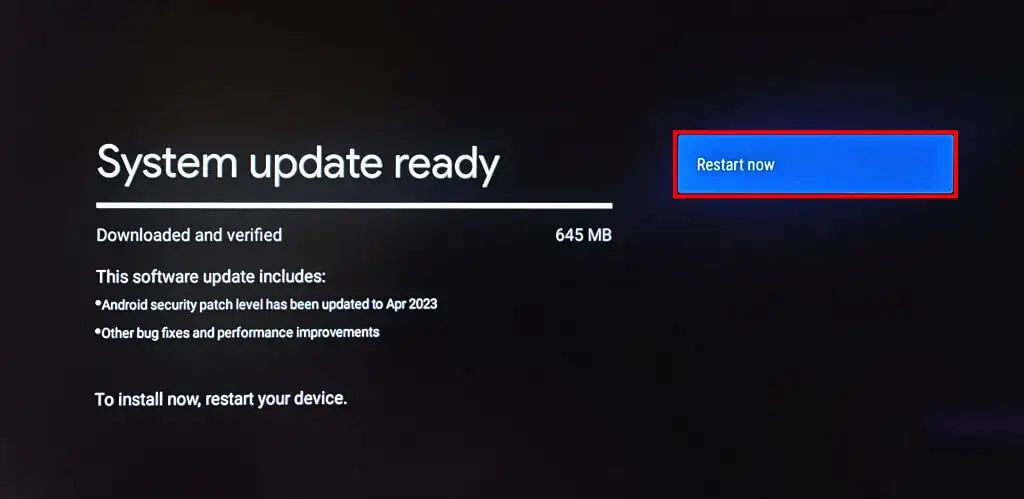
- [今すぐ再起動]を選択してアップデートをインストールします。
Chromecast のソフトウェアを更新した後もリモコンが機能しない場合は、出荷時設定にリセットしてください。
7. Chromecast をリセットする
Chromecast を出荷時設定にリセットすると、ダウンロードしたアプリ、ファイル、設定、アカウントが削除されます。 上記のトラブルシューティングでリモートの誤動作を修正できない場合にのみ、Chromecast をリセットすることをお勧めします。
Chromecast は、Google Home アプリから、またはストリーミング デバイスの物理ボタンを使用してリセットできます。
仮想リモコンを使用して Chromecast を出荷時設定にリセットする
Google Home アプリで仮想 Chromecast リモコンを開き、次の手順に従います。
- 上隅にあるプロフィール写真を選択し、 [設定]を選択します。
- [システム] > [バージョン情報]に移動し、 [工場出荷時設定にリセット]を選択します。
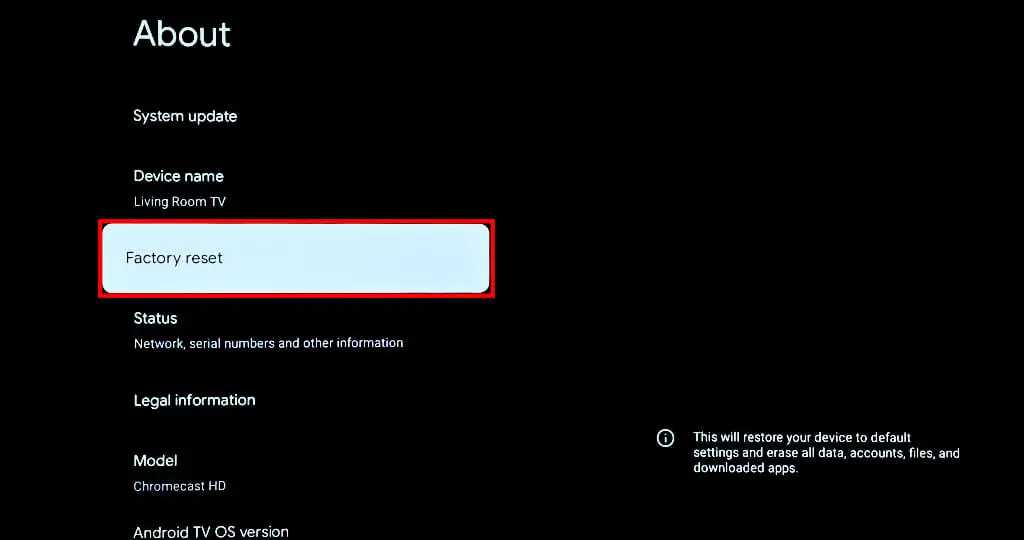
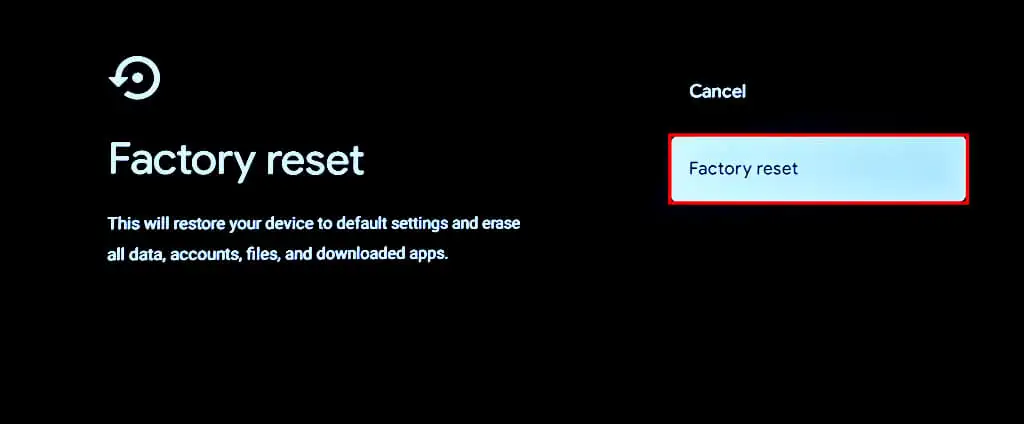
- 確認ページで[工場出荷時設定にリセット]を選択して続行します。
物理ボタンを使用して Chromecast を出荷時設定にリセットする
Chromecast を電源に接続してオンにしておきます。 ストリーミング デバイスの背面にある物理ボタンを押し続けます。
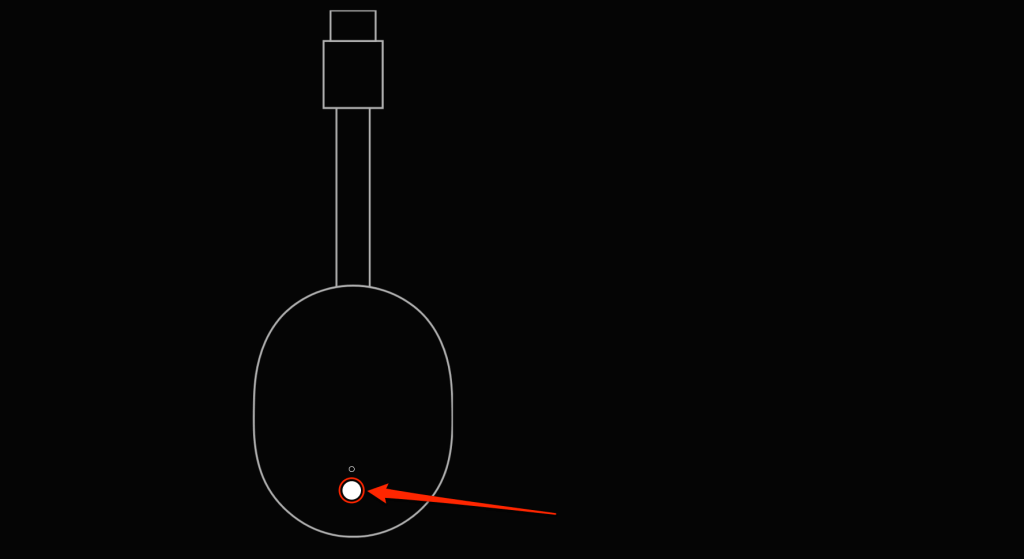
LED が黄色に点滅してから白色に点灯したら、ボタンを放します。 出荷時設定にリセットすると、Chromecast が再起動し、リモコンと自動的にペアリングされます。
Google Chromecastリモコンを修正する
上記の推奨事項をすべて試しても Chromecast 音声リモコンが機能しない場合は、Google サポートにお問い合わせください。 お持ちの音声リモコンに工場出荷時の欠陥がある場合は、交換用の音声リモコンを入手できます。 交換用リモコンは、Google ストアまたは Amazon から 19.99 ドルで購入することもできます。